Before you can buy, send, or store any cryptocurrency, you need a crypto wallet. Think of it as your personal bank account in the digital world—except you control it entirely. Whether you’re just starting with Bitcoin or exploring Web3 apps, setting up a wallet safely is the very first step.
Let’s go through what a crypto wallet is, the different types available, and how to set up both mobile (hot) and hardware (cold) wallets.
What Is a Crypto Wallet?
A crypto wallet is a tool that allows you to store, send, and receive cryptocurrencies.
But here’s an important distinction:
- It doesn’t actually store your coins—the coins remain on the blockchain.
- It stores your private keys, the digital passwords that prove ownership of those coins.
Losing your private key means losing access to your crypto forever. That’s why learning to set up and secure your wallet properly is essential.
Step 1: Choose the Type of Wallet
There are two main categories of wallets you should know:
1. Hot Wallets (Software/Mobile Wallets)
- Connected to the internet.
- Ideal for beginners and daily transactions.
- Examples: MetaMask, Trust Wallet, Coinbase Wallet.
- Pros: Free, fast, easy to use.
- Cons: More exposed to online risks (hacking, phishing).
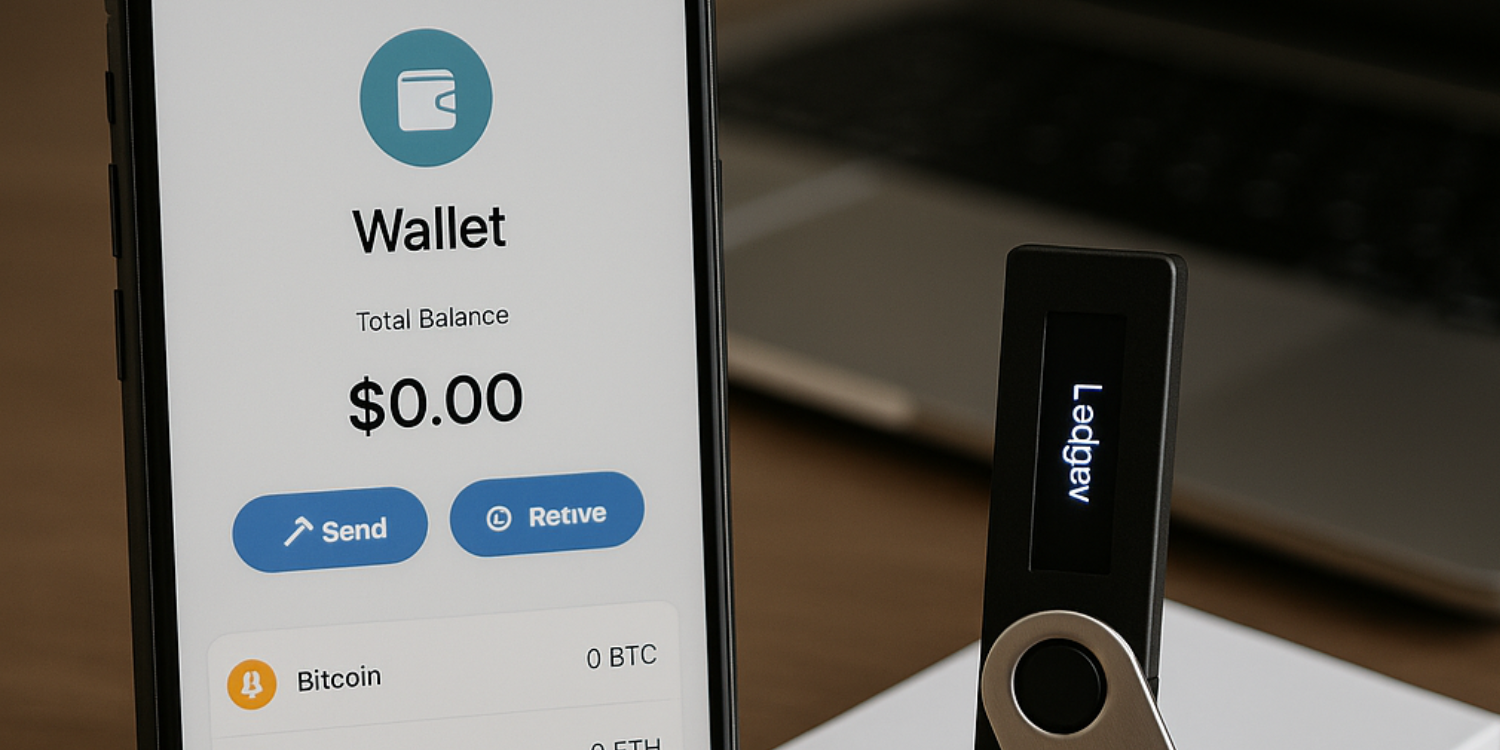
2. Cold Wallets (Hardware Wallets)
- Offline devices that store private keys securely.
- Best for long-term holders.
- Examples: Ledger Nano X, Trezor Model T.
- Pros: Extremely secure against hacks.
- Cons: Costly and slightly less convenient for quick trades.
Step 2: Setting Up a Mobile (Hot) Wallet
Let’s take Trust Wallet as an example (though steps are similar for MetaMask or Coinbase Wallet).
A. Download the App
- Go to your device’s official app store (Google Play or App Store).
- Search “Trust Wallet” and download the verified version.
- Avoid clicking on links from random websites or ads—many fake apps exist.
B. Create a New Wallet
- Open the app and tap “Create New Wallet.”
- Accept the terms and tap Continue.
- You’ll see a recovery phrase (12 or 24 random words)—this is your backup key.
Important:
- Write your recovery phrase down on paper—never screenshot or store it online.
- Keep multiple paper copies in different safe places.
- Anyone who knows your recovery phrase can steal your funds.
C. Verify Your Backup
- The app will ask you to confirm your recovery phrase by selecting the words in order.
- Once confirmed, your wallet is ready.
D. Add Crypto to Your Wallet
- Tap “Receive” to copy your wallet address (looks like a long string of letters and numbers).
- Use that address to send crypto from an exchange or another wallet.
- You can also buy directly in the app using debit/credit cards in supported regions.
E. Explore and Secure
- Enable biometric login (fingerprint or Face ID) for extra protection.
- Familiarize yourself with “Send,” “Receive,” and “Swap” options.
Congratulations — you now have a working crypto wallet on your phone!
Step 3: Setting Up a Hardware (Cold) Wallet
For serious investors or those holding large amounts of crypto, a hardware wallet adds a crucial layer of safety.
Let’s use Ledger Nano X as an example.
A. Purchase Directly from the Official Website
- Always buy hardware wallets from the manufacturer’s official site (Ledger, Trezor, etc.).
- Avoid third-party sellers to prevent tampering or fake devices.
B. Unbox and Initialize
- Connect the device to your computer or phone via USB or Bluetooth.
- Install the Ledger Live app from the official website.
- Follow on-screen prompts to set up as a new device.
C. Create a PIN Code
- Choose a secure 4–8-digit PIN to access your wallet.
- This protects your wallet from unauthorized physical access.
D. Write Down the Recovery Phrase
- The device will display a 24-word recovery phrase.
- Write it on the provided recovery sheet.
- Store it offline—never photograph or email it.
E. Install Apps for Specific Coins
- Through Ledger Live, install apps for coins you want to store (e.g., Bitcoin, Ethereum).
- Transfer funds from your exchange or other wallets into your hardware wallet address.
Once setup is complete, disconnect it from your computer. Your crypto is now stored securely offline, safe from hackers.
Step 4: Backup and Security Best Practices
No matter what wallet type you choose, follow these golden rules:
- Always keep your recovery phrase offline. It’s your only backup if you lose your phone or hardware wallet.
- Enable two-factor authentication (2FA) on any connected apps or exchanges.
- Beware of phishing emails and fake websites.
- Regularly update your wallet app or firmware. Security patches matter.
- Never share your private key or seed phrase—ever.
Step 5: Optional – Multi-Wallet Strategy
Many experienced users combine wallet types for maximum security:
- Use a mobile wallet for small, everyday transactions.
- Keep larger holdings in a hardware wallet.
- Optionally, store emergency funds in a custodial exchange wallet for quick access.
This hybrid setup balances convenience + safety.
Final Thoughts
Setting up a crypto wallet is your first step toward true financial independence. Whether you choose a mobile wallet for flexibility or a hardware wallet for ultimate security, remember: you—not a bank—are in control.
With great freedom comes great responsibility. Keep your recovery phrase safe, use your wallet wisely, and enjoy the empowerment of holding your own digital assets in the Web3 world.
Quick Recap:
- Hot Wallet (Mobile): Easy, free, convenient. Perfect for beginners and everyday use.
- Cold Wallet (Hardware): Offline, secure, ideal for long-term storage.
- Golden Rule: Whoever controls the private keys controls the crypto.